Photo of the Day: Sunset over Lake Wakatipu

Here's a shot I finally got around to processing. Honestly I didn't have to do too much considering the remarkable conditions over Lake Wakatipu in Queenstown, New Zealand. Every 30 seconds during this sunset the light was changing to something new and fantastic.

Here I shot seven bracketed photos with a 1.0 exposure variation; this is something you want to do when shooting directly into the sun. Using the tone mapped image I pulled in the sky from the +1 exposure to fix some of the gray sky. I also brought in some of the redder grasses from the 0 level exposure. These grasses were unbelievably red while I was standing there. 


Repix: A Fun Photo App for iPhone and iPad

I'm not one of those photographers who gets all high and mighty about retouching photos. I love post-processing and Repix for the iPhone and iPad takes processing and turns it into an art form. 

No more filters! Again, I love filters for the right photo like a little background blur on a portrait, etc. But Repix does away with the filters in favor of brushes to paint in special effects. It's like finger paint blending between the real world and the imagined. If you've ever used the amazing app Paper you know what I'm talking about. Repix, like Paper, gives you a handful of regular brushes for free. If you want more you'll pay for them inside the app. Brush packs are $1.99 or $4.99 for the whole kit and caboodle. Just pay the $5.00 and be done with it. 

Repix still has basic setting tweaks like contrast, brightness, saturation and more, but they're only here for small fixes. If you really want to fix your photo first I'd jump over to SnapSeed or iPhoto for iPad. Both great apps. 

Most of the free brushes felt gimmicky to me but some like Charcoal and Edger added some fun to the stock flower photos they provide. The real magic happens when you start playing with the paid brushes like Daubs or Van Gogh. I really felt like some of my painted photos would look great on my wall, or over a toilet at least. 

Don't worry you're not stuck with your camera roll photos to play with. In fact Repix lets you import photos from Facebook albums, Photo Stream but it won't let you get access to your synced iPhoto albums. That last part was a bummer as I have a synced album called Portfolio filled with my best photos. It would have been nice to bring in that sunset photo and do a little painting. Of course there are all kinds of ways around that like simply adding that photo to Photo Stream or Facebook. I have to think an update will change that limitation soon. 

Repix also lets you share your finished work of art out to Facebook, Twitter, Instagram, and Tumblr. It's a fun app that's sure to give some added flare to that butterfly photo. Here's a butterfly photo I shot with a few Repix brush effects added. What do you think?


Review: Sony RX1 Camera Hands-On

Sony has set the camera world on fire with the release of the RX1 Cybershot. he accolades are appropriate even if the cost is high ($2,799). It's the first time a full-frame sensor has been shoved into a body this compact and precise. It's truly a beautiful thing to hold and a joy to use. 

I'm not going to fill these pages with a massive specs review, others have done a fine job, but I will give you a few highlights and lowlights. 

Screen Shot 2013-03-13 at 6.33.45 PM.png

The Body: It's sturdy and well crafted for the hand although a tad smaller than I'm used to, and that's a good thing. 'm so used to holding my hulking Nikon D800 that I did have to get used to holding the RX1 like a hot piece of toast, with just the tips of my fingers.  


The Three Dials: There's a smart use of the dials here for quick access to the things that matter most like the mode dial with three customization options, an exposure compensation dial in case you quickly fire off a few versions of a shot for an HDR, and a dual function dial used for both ISO and shutter speed. I've been shooting in Manual mode for most of the past year and it's nice to have a dial with quick access to those functions. 

The View Finder: My biggest gripe is that the RX1 has no electronic viewfinder. My eyes have gotten progressively worse over the years and peering down the barrel of a viewfinder is essential. I need to check focus, compensate for bright light all without the bright sunlight shining in my eyes. Sure you can buy a good electronic view finder for about $400 but the price on this camera demands one built-in. 

Auto Focus: It has a 25 zone contrasted detect AF system and it's very nice. I like a fast auto focus for grabbing those quick shots of the kids and I was pleasantly suprised. It's not as fast as my Sony NEX-7 or the D800 but it wasn't slow enough that I didn't want to shoot with it. 

RAW: I always shoot in RAW format thanks to my buddy Trey Ratcliff who showed me the value in being able to pull as much light data you need from a RAW shot during post processing. Shooting in JPG format simply keeps you from doing more with the photo in Lightroom or Photoshop. That's a long way of saying the RX1 shoots exceptional RAW shots and the amount of data available was stunning. 

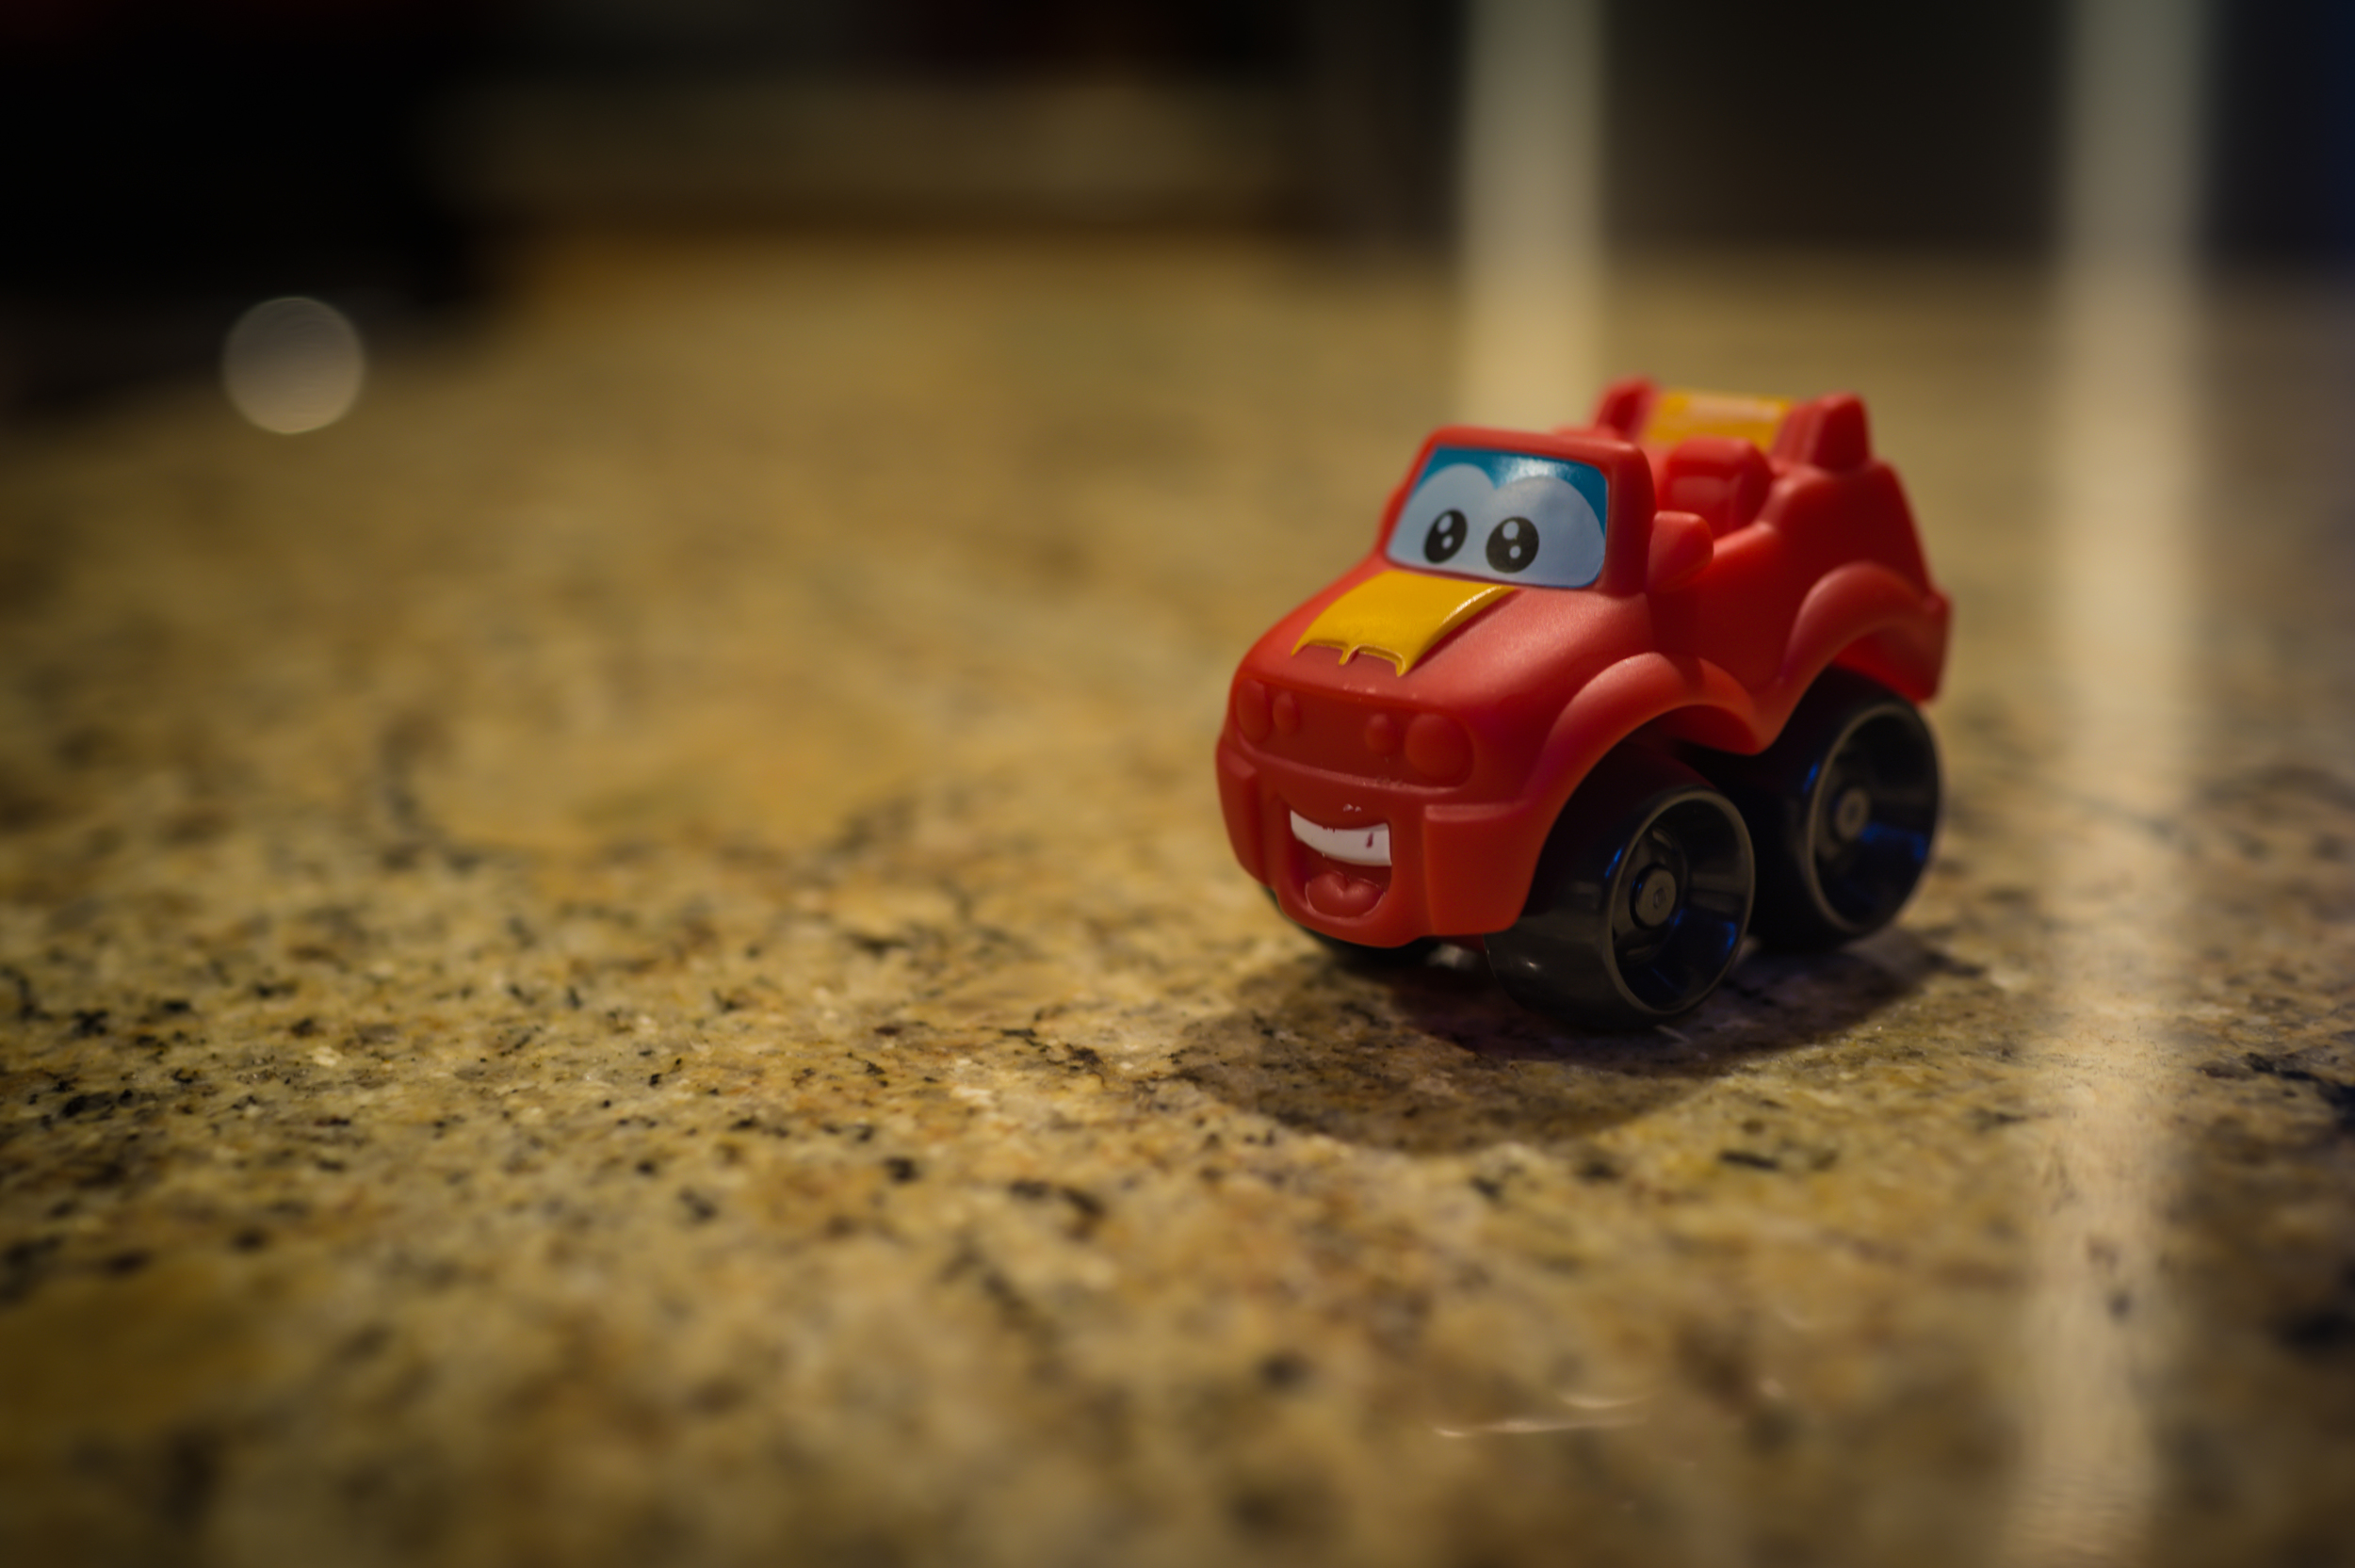
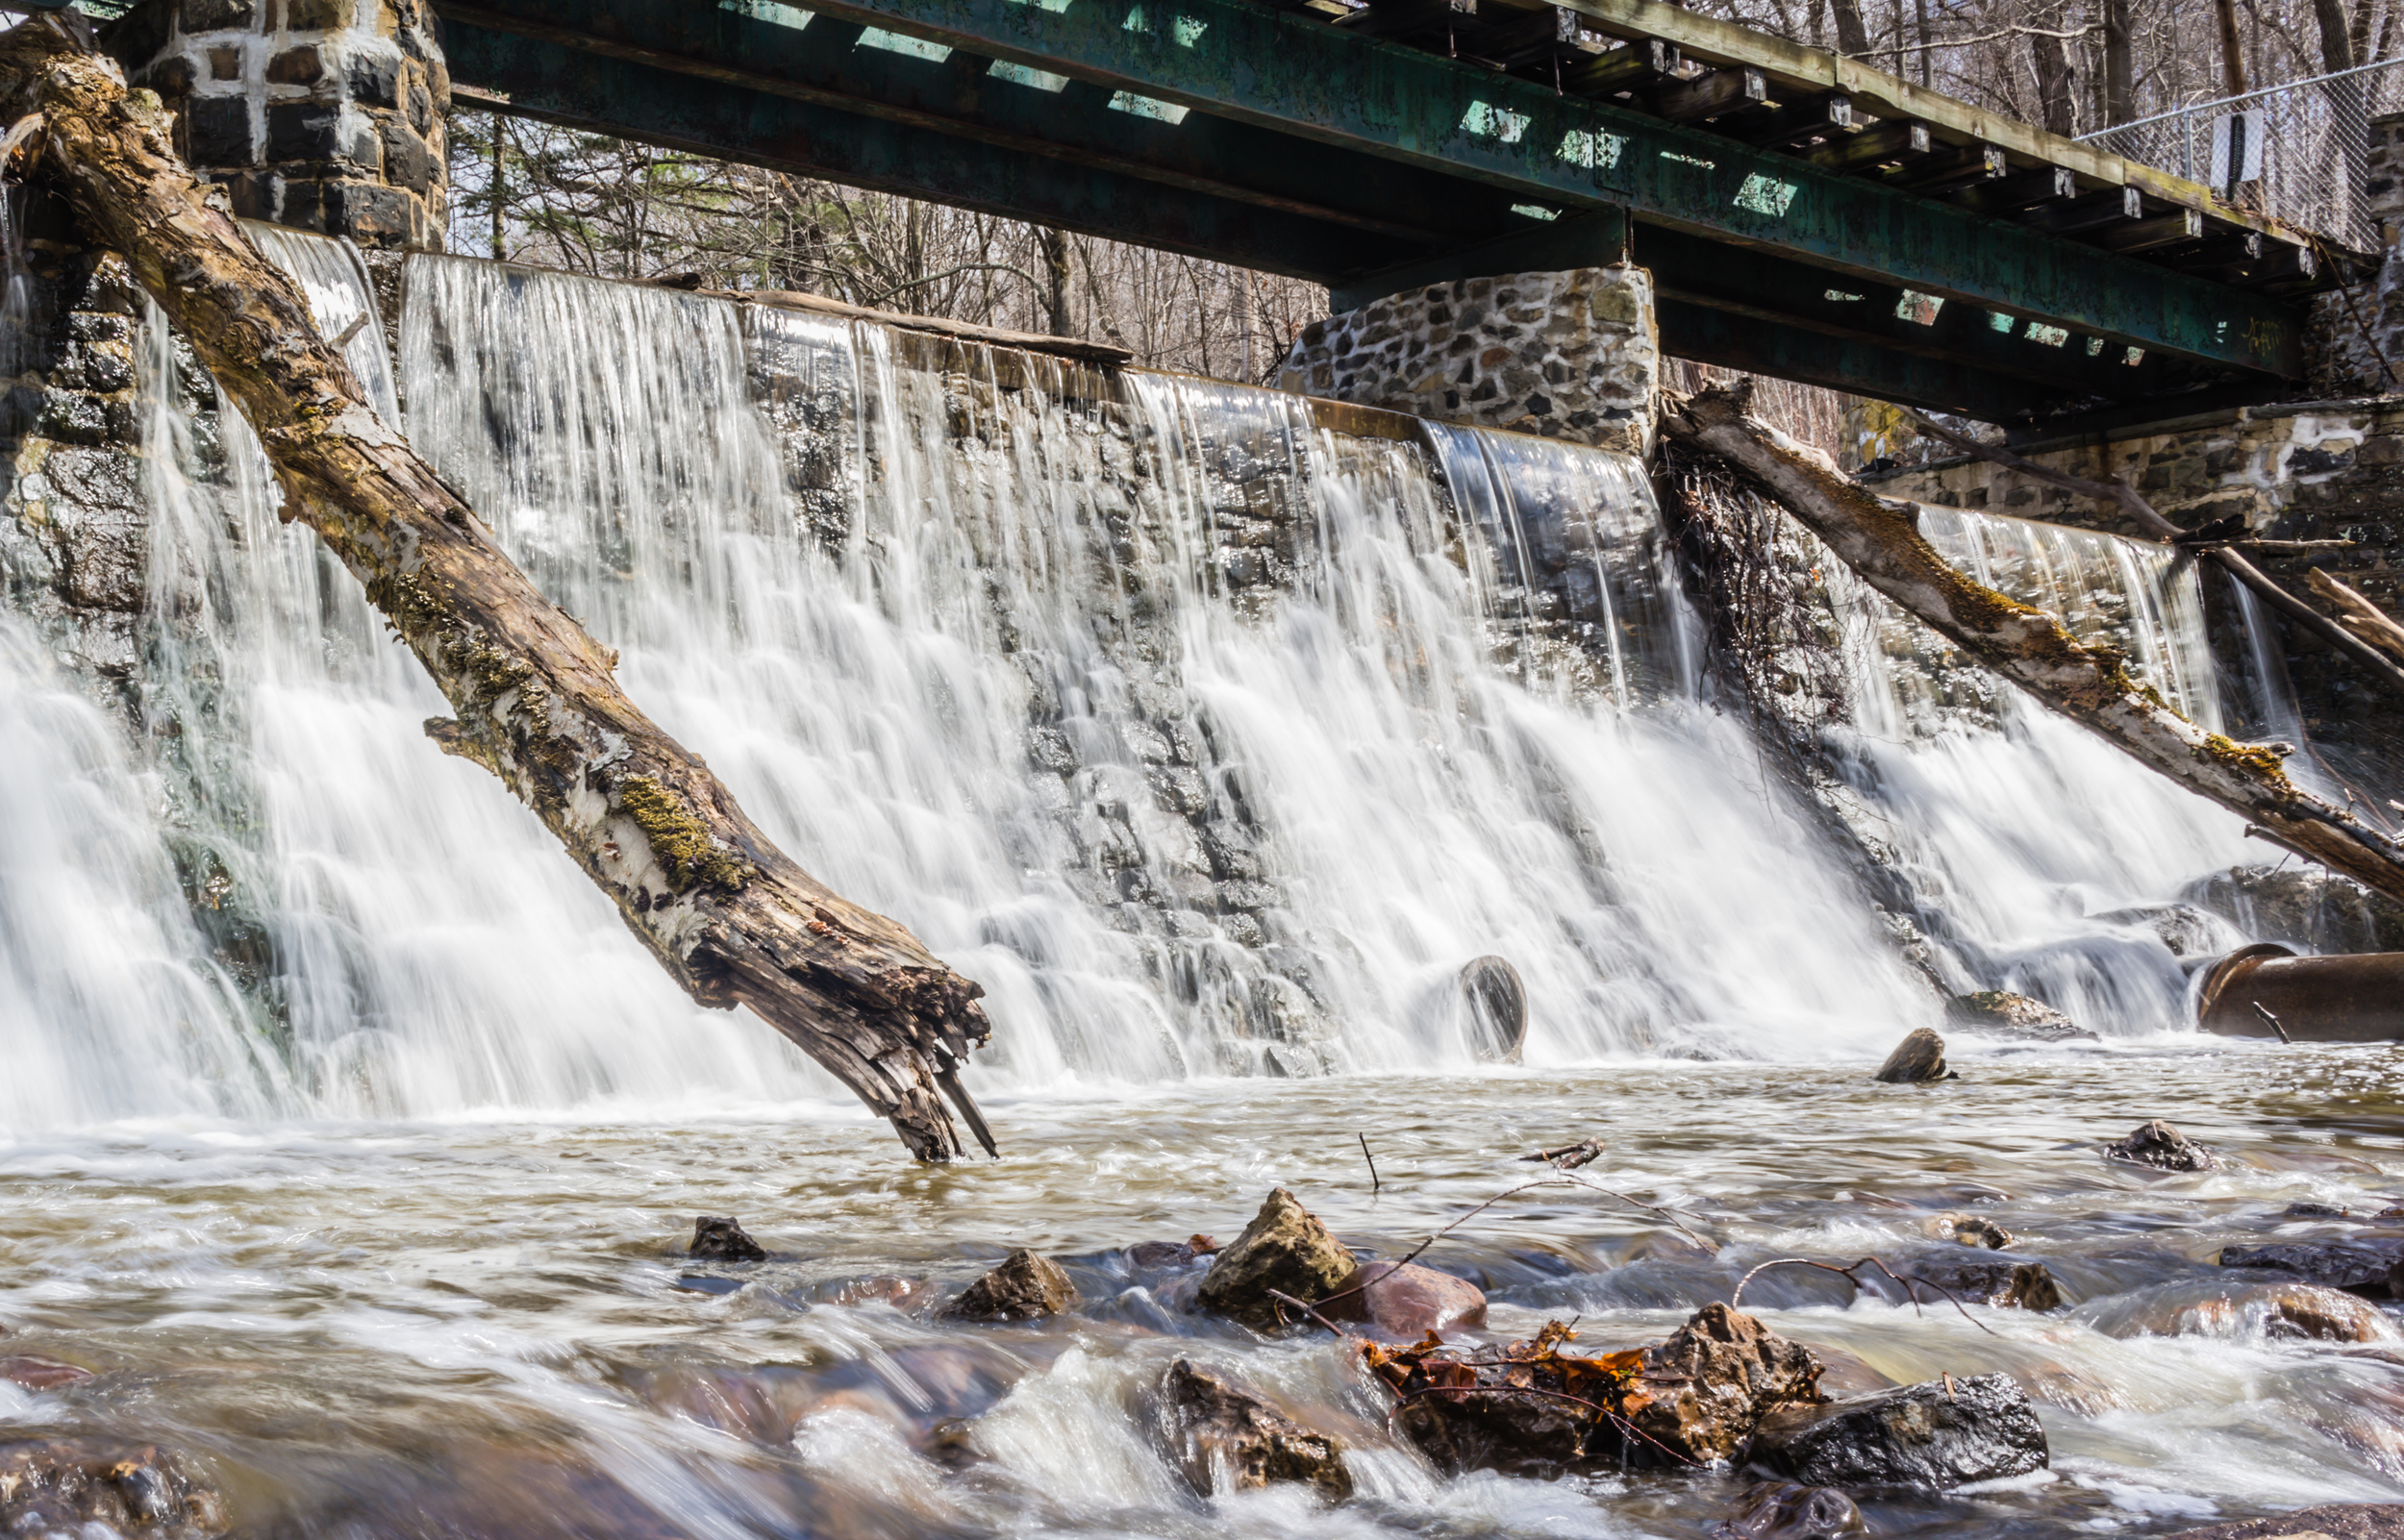
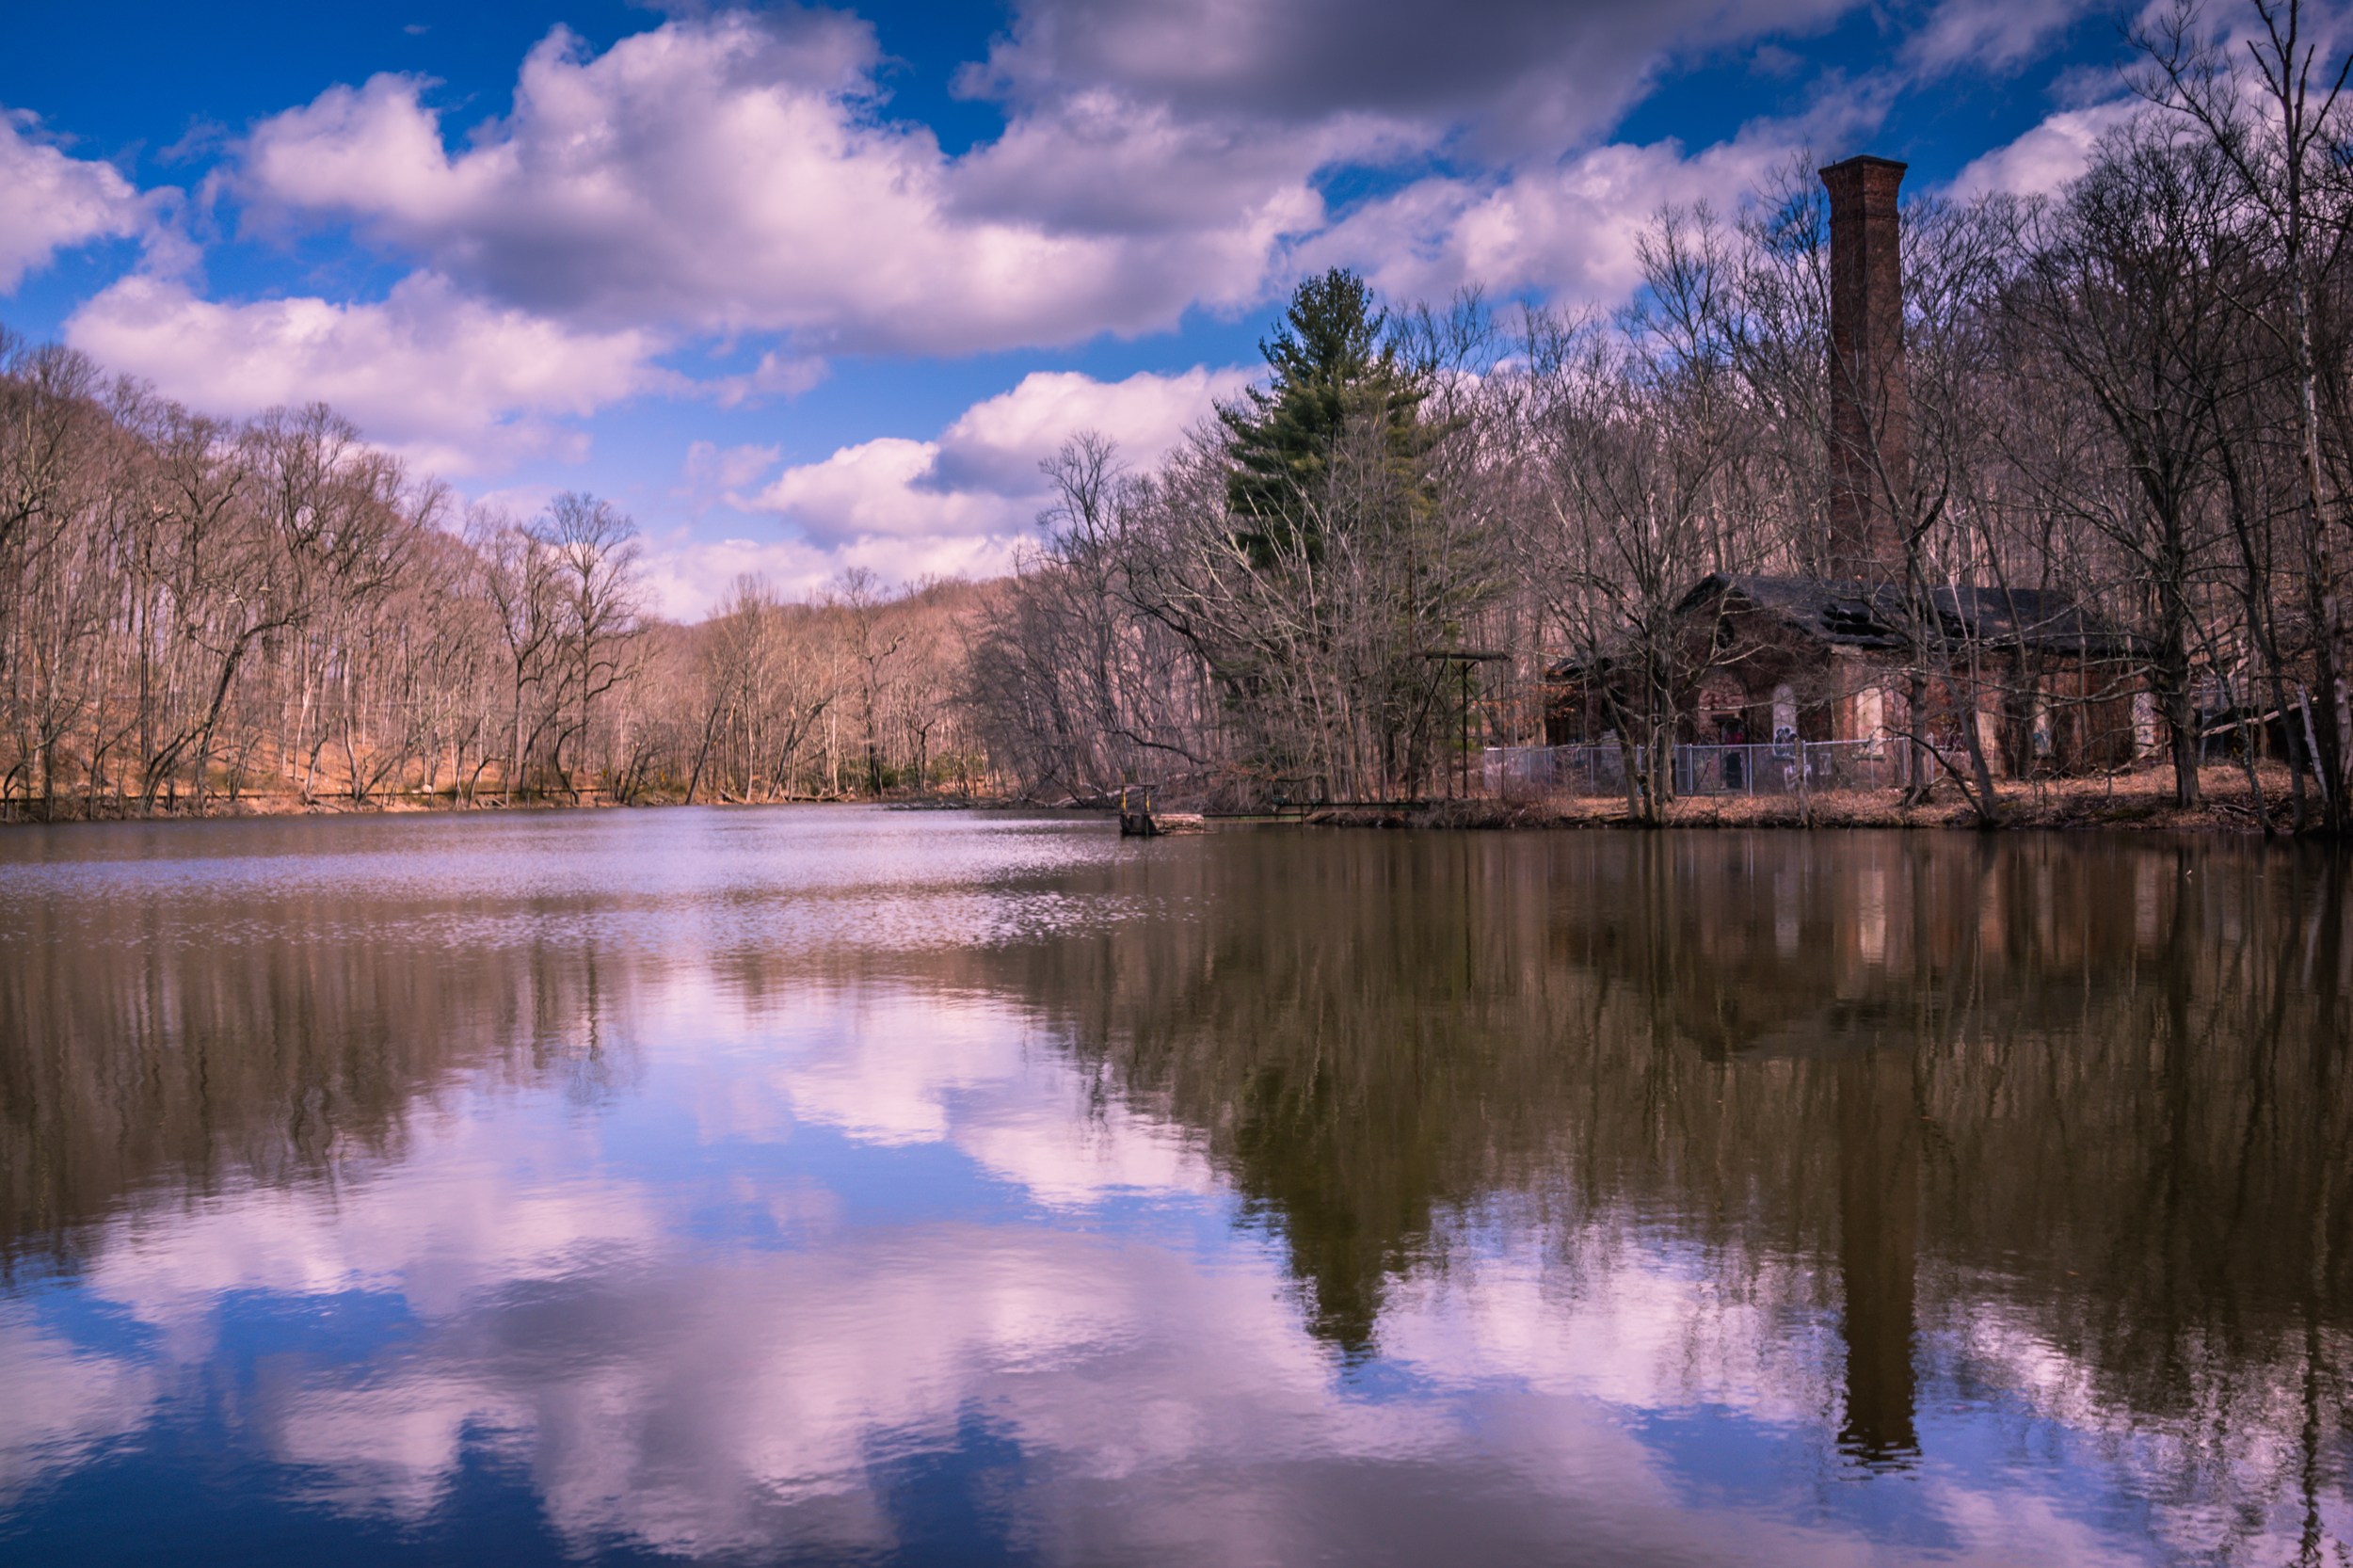
Here's a gallery of shots taken with the RX1. All of these were RAW photos with some minimal processing. In fact here's a little secret, I was traveling for most of these shots and I didn't have access to Lightroom on my iMac so I edited the RAW photos on my iPad using Photosmith, SnapSeed, and iPhoto. The future! And don't forget to scroll down for a little hands-on video.


Sony has set the camera world on fire with the release of the RX1 Cybershot. ​The accolades are appropriate even if the cost is high ($2,799). It's the first time a full frame sensor has been shoved into a body this compact and precise. It's truly a beautiful thing to hold and a joy to use.

Photography Tips: Lighting For Beginners

When it comes to photography, as they say, "lighting is everything". Whether you are just getting started as a professional photographer or are simply the person that pulls out their camera whenever a photo opportunity pops up, lighting has a huge effect on the end result of the photo. While professional studio lights can be quite costly, there are alternatives to studio lights that can provide the same effects for the beginning photographer. Here are some simple guidelines to help you get the perfectly lit shot.

Halogen Lighting For Indoor Shots

Halogen lamps work well for indoor photo shoots, and incandescent bulbs are also a good light source, as long as they have a higher wattage. Typically, fluorescent lights should not be used due to the fact that photos taken under this type of lighting tend to require a high level of color correction.

Light Reflectors and Diffusers

In order to soften the light in the room and minimize glare, you may need to incorporate a diffuser into your photo shoot. You can purchase diffusers at most camera equipment stores, and you can also use paper or plastic as a low cost alternative. It is important to note that halogen as well as incandescent bulbs can ignite the diffuser if it is set up close to the bulbs, so you want to make sure the paper or plastic is at a safe distance while remaining close enough to allow for the softened effect. White cardboard can be used to minimize shadows, and this can be purchased at any office supply store. You can also purchase silver reflectors from any camera equipment store. By adjusting your lights and experimenting with diffusers and reflectors, you will learn what works best for each particular shoot.

Multiple Light Sources

To minimize harsher shadows, take advantage of all the lighting sources that you have. You can also use one or two lights to light the background of the photo, and if any of your light sources have a dimmer, this is an easy way to experiment with various lighting effects.


I played around with a small light box on a dimmer for this photo of my daughter. I had her in front of some natural light but I aimed a small box off to the side to bring out her eyes. 

Practice Makes Perfect

While lighting your first few photo shoots may prove to be a bit challenging, the best thing about photography is that you can constantly experiment to achieve your desired effect. And through various lighting experimentation and test shoots, you never know: what you may consider a beginner's mishap may actually end up producing an amazing photo.

Photo of the Day: Sunset at Bendemeer Estates

This was really one of those magical sunsets in New Zealand. This grass had an amazing color of orange that I was trying to capture here without going overboard. The sun hit the grass and it almost looked like it was on fire. This sunset lasted forever and the light changed every few minutes to something different and remarkable. 

Workflows: Taking and Processing Photos with the iPhone 5

The iPhone 5 takes great photos, that's no secret. I often find that I can snap a great photo of the scene even with my giant DSLR hanging around my neck. The iPhone 5 does take great photos right out of the camera but I've been using a few apps lately to take those good photos to the next level. Give these a try:

1. Camera+: I use this to snap a series of photos. I pick the best one and I save it out to my camera roll. I love the the light box feature which lets me scroll through a bunch of shots before saving it to my camera roll. Also the burst feature lets me take super fast photos of my fast moving kids. 

2. SnapSeed: Next I import the photo into SnapSeed and clean it up with an immense mount of filters and features. I'm going to write a separate post about SnapSeed because it's just that good. Then I either publish it right from here or I export it to my camera roll to be used in another app.

3. iPhoto: Then I import it into Apple's own mobile editing software iPhoto. It's great to use on the iPhone but even better to use on the iPad. I use this to remove blemishes or spots. My daughter had a piece of spinach on her face... delete!

I don't use all of these every time. And obviously I could use Camera+ for a lot of them, I could use SnapSeed for just about everything and the same goes for iPhoto. 

Can you tell the difference between these two photos? Guess which one is an iPhone photo. The other is a Nikon D800.

Give up? Keep scrolling down....​

The second one is an iPhone photo. ​